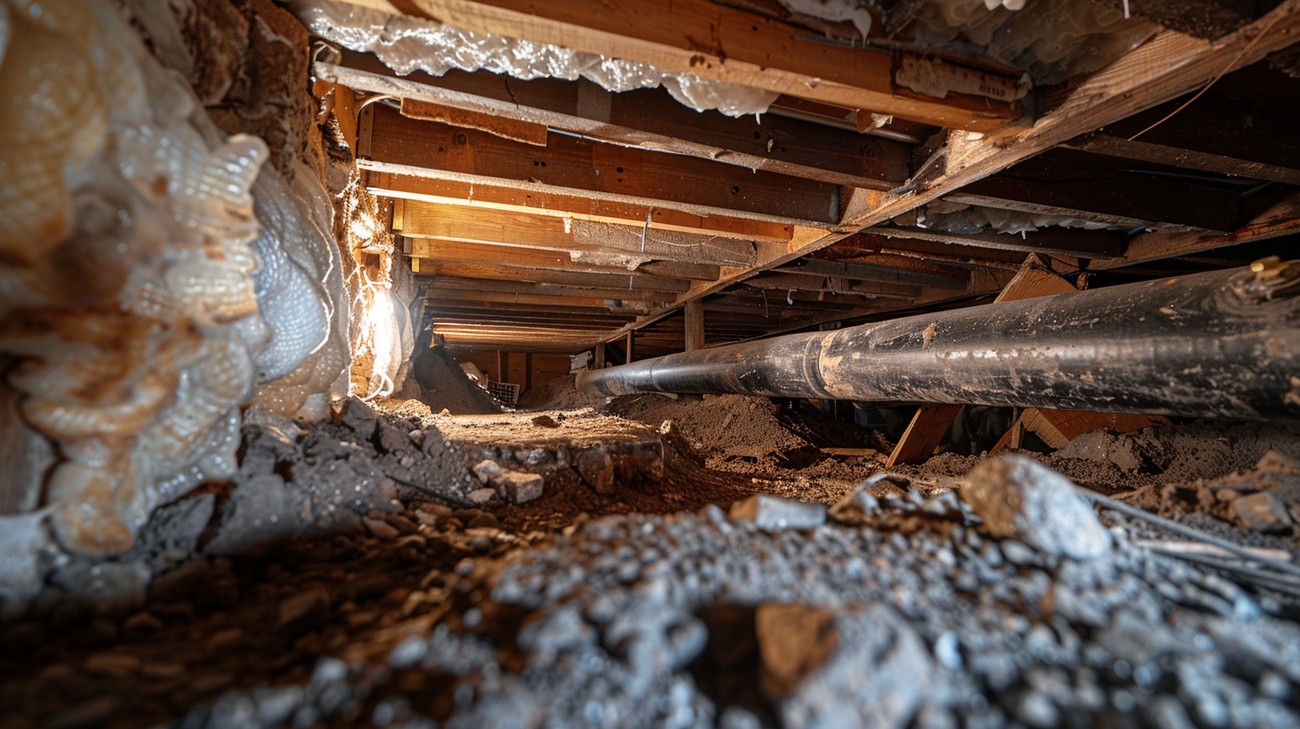
Crawl Space Vapor Barrier Installation: A Guide to Moisture Protection
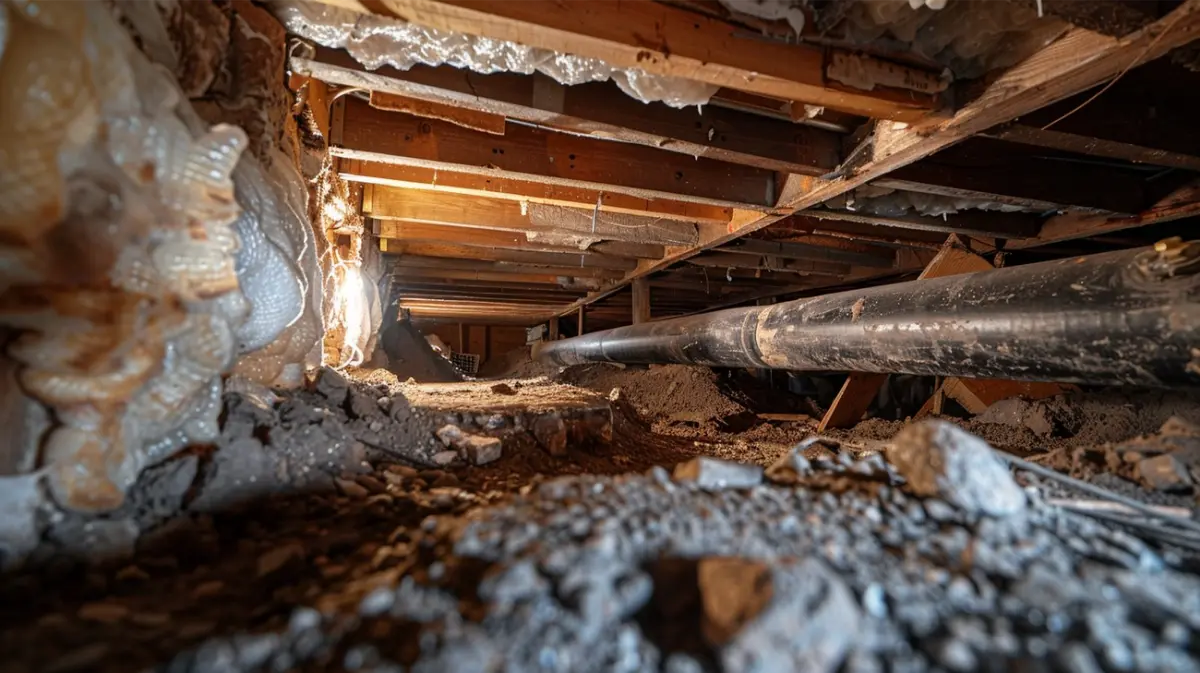
A crawl-space vapor barrier helps control excess moisture, but it will not do much good if installed incorrectly. I’ll explain what matters during installation and how to check whether the job was done properly.
Quick Takeaways:
- A crawl space vapor barrier reduces moisture rising from exposed soil, but other problems should be identified and addressed before it is installed
- Unvented crawl spaces require a continuous sealed system that goes beyond installing a ground liner
What a Crawl Space Vapor Barrier Does
Bare soil releases water vapor even when it looks dry. A sealed ground cover helps keep moisture from exposed soil out of the crawl-space air, which can help protect the framing and support better indoor air quality. A vapor barrier is only one part of crawl space moisture control. It prevents ground moisture from evaporating freely, but it will not fix standing water caused by poor drainage or a leak.
Signs Your Crawl Space May Need a Vapor Barrier
Exposed soil or large gaps are the signs that better ground coverage may be needed. Damp or darkened wood and a musty smell can also point to the fact that a vapor barrier may help. Sagging or damp insulation, stains on framing, and other signs of moisture damage can also indicate that a vapor barrier may be useful.
What Type of Vapor Barrier Should a Homeowner Use?
A 6-mil polyethylene vapor barrier is the minimum commonly required for crawl spaces in Washington. It should fully cover exposed soil. The seams should overlap, and the material should reach the foundation walls. A thicker or reinforced barrier can be a better choice when the crawl space has rough ground or needs frequent access because it is less likely to tear. Some sealed crawl spaces may also need a dehumidifier to control humidity, depending on how the space is designed and how much moisture remains after other problems are corrected.
What to Check Before Installing a Vapor Barrier
Start with a careful crawl space inspection and do not forget to check the exterior as well. Look for problems with downspouts or drainage, and check the framing for rot. Try to identify any issues that a vapor barrier will not solve before you install one.
Finally, determine whether the crawl space is vented or sealed. A crawl space with open foundation vents and ground cover is not the same as a properly sealed crawl space. Using thicker plastic does not make the two systems interchangeable.
A Crawl Space Vapor Barrier: Step by Step Installation Process
Here’s what the proper crawl space vapor barrier installation process looks like:
Step 1: Clean and Level the Crawl Space Floor
Remove all debris and any objects/loose fragments that could damage the new barrier. If your crawl space already has a concrete slab, check whether an effective vapor barrier was previously installed beneath the slab or over its surface.
Step 2: Measure and Cut the Vapor Barrier
Measure the crawl-space floor and plan how the liner will fit around posts or uneven foundation areas. Cut each sheet with enough extra material for the required overlap. Washington’s current rule for ventilated crawl spaces requires ground-cover joints to overlap by at least 6 inches. Do not apply a 12-inch overlap requirement you found for another type of membrane. The correct measurement depends on the installation. Leave enough material at the edges so the liner reaches the full perimeter.
Step 3: Cover the Ground Completely
Roll the polyethylene sheeting over all exposed soil and extend it to the foundation walls without pulling it too tight. A little slack is fine because it allows the material to follow uneven ground and reduces stress if someone needs to crawl over it later.
Work carefully around foundation piers and posts. Random cuts can turn one continuous sheet into several loose pieces that are harder to secure. Plan each cut so the barrier fits closely around the obstruction and leaves as little exposed soil as possible. If you use a thicker, heavier material, installation may take longer because 15- or 20-mil rolls are harder to move through a narrow crawl space opening.
Step 4: Overlap and Seal the Seams
Exposed soil at a loose seam is still in contact with the crawl space air, so the seams need to be sealed properly. Use seam tape or another joining method that is compatible with the vapor barrier material. Regular household tape is not a good choice for this job. Smooth out wrinkles before applying the tape so the adhesive can bond firmly to the surface.
Step 5: Seal Around Posts and Other Penetrations
Take your time so no exposed soil is left uncovered and the barrier fits closely around the area. Add extra pieces where needed, then tape or seal the seams according to the system requirements. Use the same approach around pipes and other utilities that pass through the barrier. More advanced crawl space encapsulation systems require greater attention to these details, including sealed penetrations and proper integration with the perimeter walls.
Step 6: Secure the Barrier at the Crawl Space Perimeter
Running polyethylene sheeting up the foundation walls is not all you need to do to create a properly sealed crawl space. Exposed soil in an unvented crawl space must be covered with a continuous Class I vapor retarder. Sections must overlap by at least 6 inches and be sealed or taped, while the edges must extend at least 6 inches up the foundation walls and be secured and sealed in place. The system must also include radon protection and continuously operating mechanical exhaust ventilation to the outdoors, with a minimum airflow of 1 cubic foot per minute for every 50 square feet of crawl space floor area.
Can You Install a Crawl Space Vapor Barrier Yourself?
Yes, in some cases, when a vented crawl space is accessible. But additional complications such as wet soil can make DIY work a poor choice because they can lead to installation mistakes and future problems, just like skipping problems found before installation. All such complex cases, as well as fixing any problems that are found, require professional involvement.
How Long Does a Crawl Space Vapor Barrier Last?
There is no single lifespan that applies to every crawl space vapor barrier. Its long-term performance depends on the material and how the crawl space is used. Mechanical damage is usually the main concern. Even a heavy liner can tear over sharp debris or along a busy crawl path. A 15 mil barrier with poorly sealed seams may perform worse than a thinner liner installed correctly.
I repair or replace a barrier when damaged seams or changed crawl space conditions stop it from doing its job. When comparing 6 mil with heavier options, consider how often people enter the space. Frequent service traffic usually requires greater durability.
Frame Rot Repair Case in South Bothell, WA
Our South Bothell Frame Repair shows an important point. A new moisture barrier may reduce future exposure, but it cannot restore framing that has already lost strength. Inspect the wood before new plastic or insulation hides it. Existing damage needs its own repair, and the visible evidence may help identify where the moisture came from.
Found Wood Rot in Your Crawl Space?
If you find soft or deteriorated wood in a crawl space, check the source of moisture intrusion before covering the ground with a new barrier. GotRot works across King and Snohomish counties and can inspect the framing, identify whether water is coming from the soil, a leak, or drainage, and determine what needs repair.
Call us at (206) 990-0303 or request a free estimate through our website.
FAQ
What is the best way to install a vapor barrier in a crawl space?
A quality crawl space vapor barrier installation begins with fixing active leaks or problems with the drainage system. Clean and level the ground, cover the exposed soil completely, overlap and seal the seams, and fit the material closely around all penetrations. Do not assume the seams must overlap by 12 inches; the required overlap depends on the system and local code. Make sure you also secure the vapor barrier properly at the perimeter and around penetrations.
Do I need a vapor barrier in my crawl space?
A crawl space with exposed soil usually benefits from a vapor barrier because ground vapor can move into the space below your home. This helps reduce moisture migration from the soil into the crawl space. The barrier is especially important when you already have damp soil, condensation, musty odors, or moisture-related wood damage.
Can I install a crawl space vapor barrier myself, or should I hire a professional?
You can install a basic vapor barrier yourself if the crawl space is accessible and there are no major water or structural problems. Hire a professional when you find standing water, drainage problems, damaged framing, mold, or difficult areas that need to be properly sealed.
How do I prepare my crawl space for vapor barrier installation?
Remove debris and sharp objects that could puncture the liner, and check whether an old vapor barrier needs to be repaired or removed. Repair leaks, drainage problems, and damaged wood before covering the ground so the new barrier does not simply hide an existing moisture problem.
How much does it cost to install a vapor barrier in a crawl space?
Professional crawl space vapor barrier installation typically costs about $1,000 to $3,000 in 2026. The price can increase if the crawl space also needs cleanup, drainage work, wood repair, insulation, or full encapsulation.
What type of vapor barrier is best for crawl space encapsulation and long-term performance?
The right choice depends on the crawl space and how much wear the liner will receive. An 8 mil or 10 mil barrier may work for lighter-duty use, while 12 mil offers more durability. A 20 mil or reinforced crawl space vapor barrier may be a better fit for rough ground or frequent access. Proper installation matters just as much as thickness, and the system should follow applicable building codes if you plan to encapsulate the crawl space.
Can a vapor barrier prevent crawl space moisture and other problems?
A vapor barrier can help prevent moisture from exposed soil from entering the crawl space, but it will not fix every moisture source. Active leaks, drainage issues, or a pest problem should be addressed first. These conditions can affect the long-term performance of the barrier and may require additional work before installation.
Ready to start your project?
Get a free consultation from our experts.